
It's the Simple Things
|
Last summer, right before school started, we decided that we wanted to do something fun as a family. We chose to drive over to Fort Worth to visit the Fort Worth Museum of Science and History, and since Dallas wanted to take a friend, we asked our neighbors and their granddaughter, Hailey to go with us. We did so much, and had a great time doing everything. We made paper airplanes in the "How Do Planes Fly" special exhibit, we learned about the Solar System in the Planetarium, we played with all the hand-on exhibits, toured the Cattle Raisers Museum, and so much more. By far, Dallas' favorite part was the dinosaur exhibit and the dino dig, where he and Hailey got to become archeologist and did to find dinosaur bones. 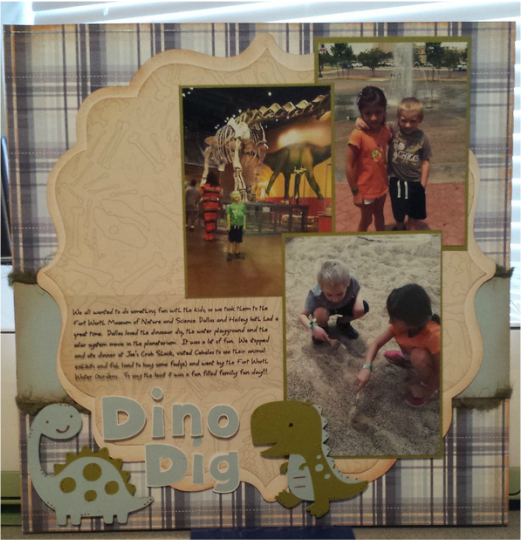 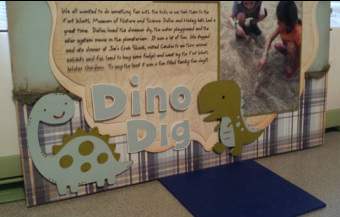 To make this layout, I cut out all the pieces using my cricut (Create A Critter, Disney Mickey Font, and Elegant Edges). Then I inked around all the edges using Tim Holtz Tea Dye distress ink, and then started putting it all together. I love how the 3 different pattern papers work so well together, and how the fuzzy ribbon works to anchor the layout. The two little dinosaurs are as cute as can be. I finished it off by printing my journaling on a transparent sheet and tucking and attaching it under the pictures so it would stay down and no one would see the adhesive. Time to start planning this year's pre-school field trip. Materials Used: Cricut: Create A Critter, Disney Mickey Font, Elegant Edges Paper: DCWV All about Boys Stack & Recollections Cardstock Ink: Tim Holtz Tea Dye Distress Ink Other: Brown Gelly Roll pen, foam tape, and ribbon from stash Challenges Entered: Lasting Memories Cupcake Inspirations Die Cuttin Divas Pause Dream Enjoy
6 Comments
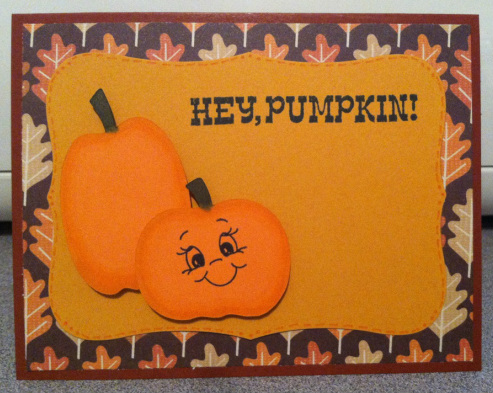 It's challenge time over at Fantabulous Cricut. This week's challenge is Signs of Fall. Using at least one Cricut cut, create a project with a Fall theme (pumpkins, leaves, harvest, etc.) I had so much fun making this super cute card. I had bought a couple of new products that I wanted to use, and had a great time testing them out. I cut out the 3 pumpkins, using Create A Critter. I stretched one to make it taller and not as wide. You can't see the 3rd pumpkin, I put it on the inside of the card in the bottom right corner. I bought the 12 sets of the Spectrum Noir alcohol ink markers. I know that they are to color in digi and stamped images, but I wondered if I could use them to add some edges to my Cricut cuts, like I usually would do with chalk. I used DG3 to color the pumpkin stems, and used GB5 and OR1, and the Blender pen to edge the pumpkins. I love out it turned out and using the blender pen on the very inside really helped the natural color of the cardstock blend with the marker color.
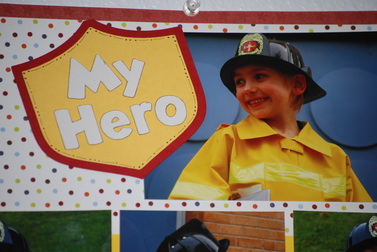
I had also bought the Labels Eight dies by Spellbinders because they were 40% off (I love a good deal). I used them to cut out the scallop base for the pumpkins. I edged it using a orange gelly roll pen. One more new product that I am so in love with is the Peachy Keen face stamp set. OMG....They are so cute and I love that you can put a little face on anything. I think it really makes this card super cute. Don't forget to link up your "Signs of Fall " Project over at the Fantabulous Cricut Challenge Blog!!! Materials Used: Cricut: Create A Critter Stamps: "Hey Pumpkin" by Recollections, "Smiley Face" by Peachy Keen Stamps Ink: Memento Tuxedo Black Ink Paper: The Paper Studio - All Seasons II and Recollections Cardstock Spectrum Noir: DG3, GB5, OR1, and Blender Pen Cuttlebug: Spellbinders - Labels Eight Other: Orange Gelly Roll pen, foam tape Challenges: Bitten by the Bug 2 Mark's Finest Papers Cut it Up Scrappy Moms Stamps Craftin Desert Divas 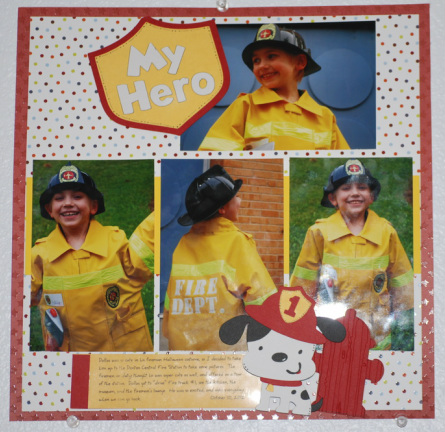 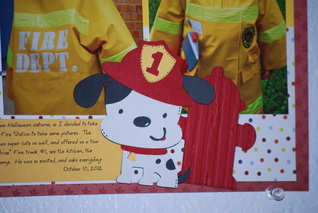 I got around to doing a layout to highlight the pictures I took of my son in his Halloween outfit, for Halloween 2012. He was so cute in his fireman jacket, so I knew I wanted to create a theme page to really highlight the pictures. I think I use my Create A Critter cartridge more than I have any other, but I couldn't resist the little fire dog and accessories. The title, was cut using Create A Critter as well, but cut the letters using the Disney Mickey Font cartridge. I used my Cuttlebug to add texture. I really like how this page turned out, one of my favs of the year. This was also his birthday theme, which in is October as well.
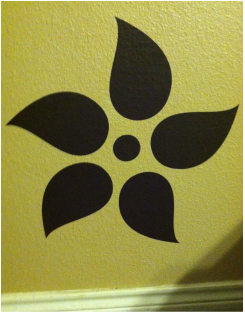
Welcome to Create with JoNeita and the FCCB Vinyl EDU Cricut Crawl - Fantabulous Cricut's version of a Blog Hop!!! This week we are challenging you to create a project using vinyl you have cut using your Cricut. We have a fabulous sponsor, Cricket Vinyl Supplies. If we get 100 participants in this challenge, our sponsor will give a Cricut Expression package that includes a Cricut Expression machine, deep cut blade, Jasmine Cricut cartridge, ten 12' X 12' assorted sheets of matte vinyl and one 12' X 12' gridded transfer tape. How exciting is that? If you have come from Heather's blog, Scraping Runner Creations, then you are in the right place! If you've just happened across my blog and would like to see all the fabulous Design Team creations, head on over to Fantabulous Cricut Here to start at the beginning. Make sure to check out each DT member's blog. There will be Blog Candy along the way at ALL of our Design Team members' blogs, and don't forget about the Grand Prize up for grabs at FCCB for one participant who submits a vinyl project at FCCB!  I had never worked with vinyl before, but had been wanting to create a piece of wall art for this blank space on the wall in our living room. It is right as you walk into our hallway, so it was a glaring blank spot yelling for a big bold graphic. I was surprised at how easy it was to use, and I think I am addicted now. I wanted it to be big (floor to celling), and I was having trouble getting pre-made images cut big enough, so I decided to make my own. It was actually a lot easier than I though it would be. The flowers were cut using a circle from Craft Room Basics, cut at 2.139 high, and the petals are cut using the layer (Bird 2) from Create A Critter, cut at 7.5 in high. I just really liked the shape of the wing and thought that it made a great country flower with a modern touch to it. I cut the flowers out in blue, brown, and a deep red. I know the wall color looks yellow, but it is really more of a tan color and the vinyl colors look great on the wall. I felt that it needed something more, so I decided to cut "Live, Laugh, Love" out and add it to the piece. I cut "Live" using the Type Candy Cartridge, standard font at 2.5 in high. "Laugh" was cut using the Type Candy Cartridge, Sugar Script font at 4.75 in high. Then "Love" was cut using the Plantin Schoolbook cartridge, roly poly font, cut at 2.11 in high.
I hope that you have been inspired by my project. Now for some Blog Candy To be eligible for my blog candy, all you need to do is become a follower and leave a comment on this post. You can comment on my project, share a tip on how to work with vinyl, or tell me what project you are working on and linking up to FCCB. I would also love it if you would "like" my Facebook page. I will choose one winner using Random.org, and announce the winner on Monday. This winner will receive a goody pack, to include some stamps and an embossing folder. Your next stop is Jackie's blog, Luv2Scrapp. Make sure to visit all the stops along the way and when you get done, make sure you link up your project to FCCB's Fantabulous Cricut Crawl post!! Happy Crawling!! Here is the line up in case you get lost: Robin http://robinscreativecottage.blogspot.com Jilliene http://jillienedesigns.blogspot.com Heather http://scrappingrunnercreations.blogspot.com JoNeita http://createwithjoneita.weebly.com (You Are Here) Jackie http://luv2scrappp.blogspot.com LB http://www.coolbeansbylb.blogspot.com Connie http://www.conniecancrop.blogspot.com Amy T www.craftingwithamy.com Missy http://www.quickchickdesigns.blogspot.com Cindy http://www.cindyvernon.blogspot.com Rebecca craftingmisfit.blogspot.com Catarina http://blog.docerelashop.com/ Kim ogdendoll.blogspot.com Emily molliemugsblog.blogspot.com Amy HS http://thestampingtree.blogspot.com Ro http://rodonner.blogspot.com/ Lynn http://mycardsnstuff.blogspot.com Michelle http://justanutterpapercrafter.blogspot.com
 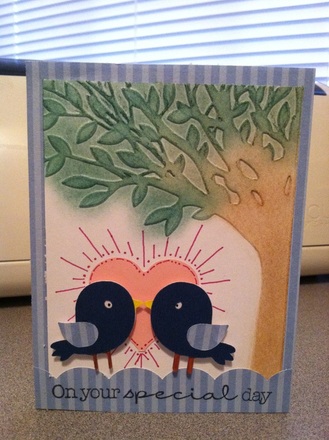 I bought this great (really I bought a bunch of great) embossing folders that I found on sale for $1.97 each!!!! This one was the one that I wanted to use the most, so I decided that the best thing to go along with a tree would be some little birds. I embossed the tree, and colored it using my decorating chalks and pastel chalk pencils. Then I cut out the birds using my Create A Critter cartridge. The scallop on the bottom is a leftover cut from Pretty Pendants, which I stamped "On your special day." I thought this would make a super cute card for a wedding, engagement, or anniversary. I punched the heart using an old punch that I had, sorry I don't remember. I really like how it turned out and I love how the chalk colors all blend together so well. Materials Used: Cricut: Create A Critter and Pretty Pendants Paper: Recollections cardstock and scraps from my stash Stamp: Stampabilities - Card Phrases 2012 Ink: Memento Tuxedo Black Cuttlebug: Leafy Tree by Darice Pens: Zig-pure yellow, brown and pink gelly roll Chalks: Decorating Chalks by Craft-t Products & Pastel Chalk Pencils by Generals Other: Heart Punch Challenges Entered: Bitten by the bug 2 Cardz TV Hiding in the Craft Room Marks TV Paper Girls Craftin Desert Divas Little Scrap Pieces
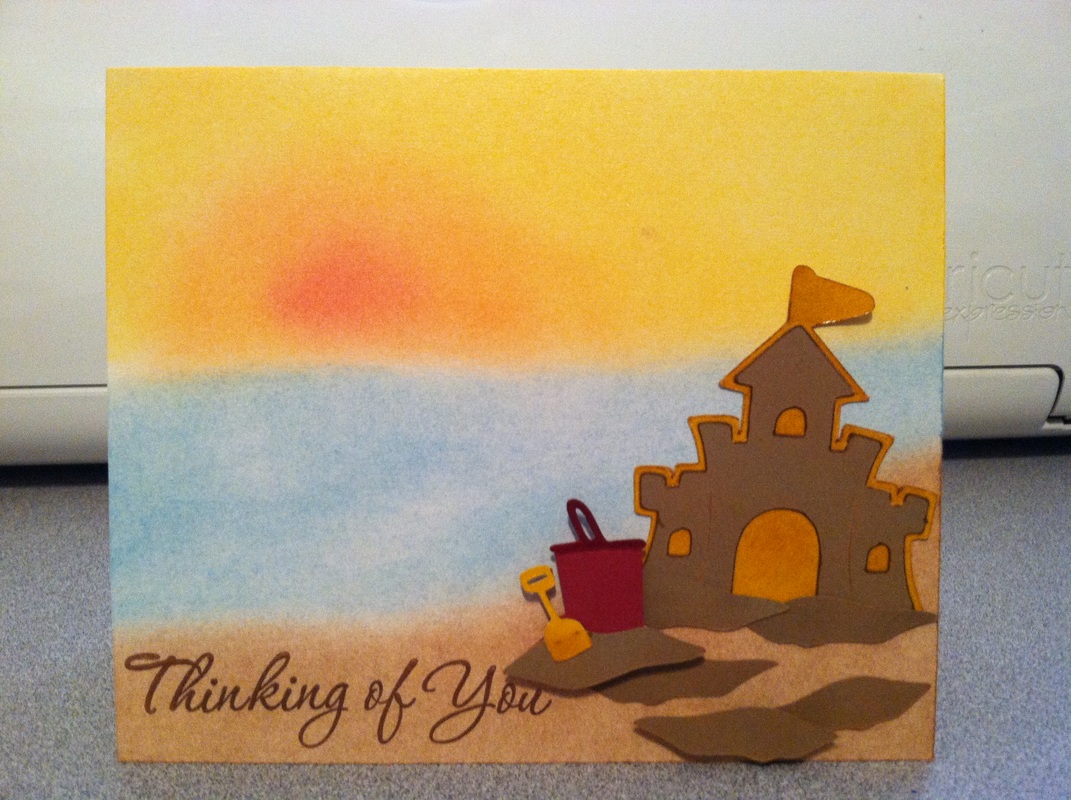
It's time for another challenge on the Fantabulous Cricut blog!!! This week the theme is "Set the Scene," you create a project that shows a scene, and don't forget you have to use at least one Cricut cut. I wanted to create something soft and peaceful, so I made a beach scene using my decorating chalks and my Cricut.
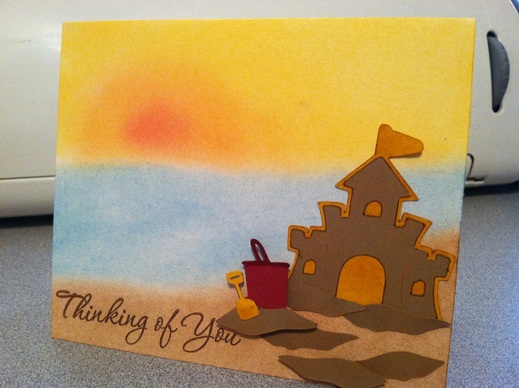
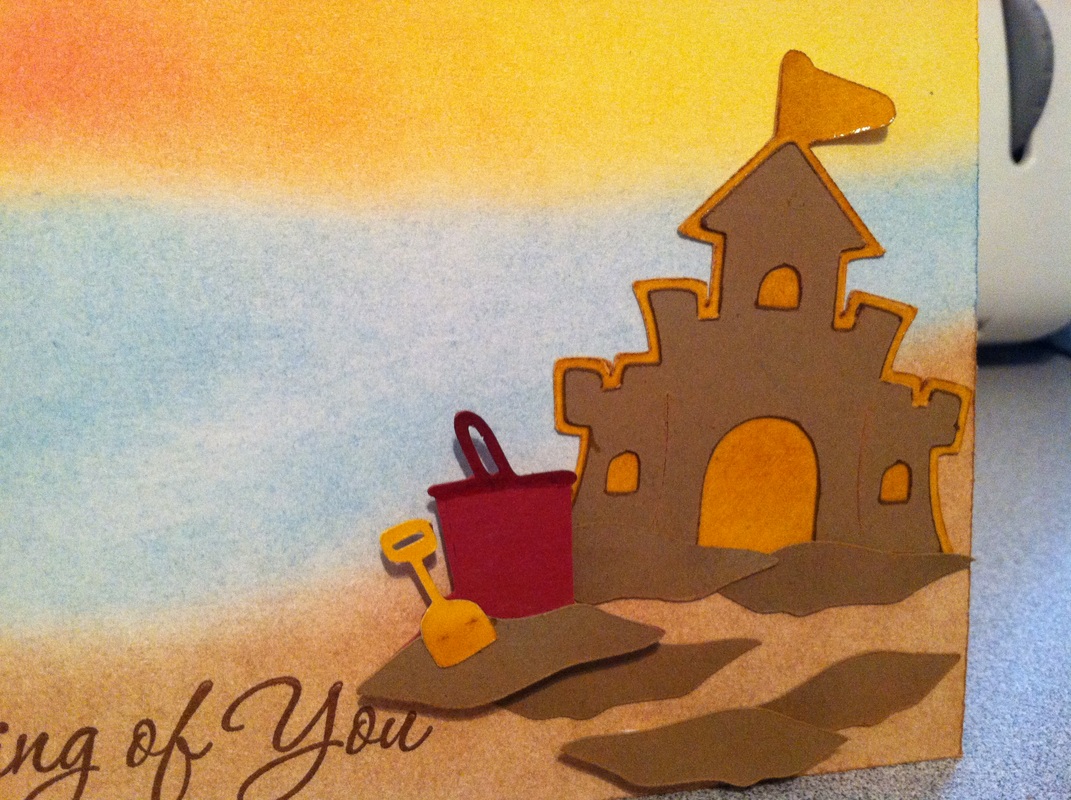
I cut out the sand castle, bucket and shovel, and the little sand piles using my Create a Critter and Simply Charmed cartridges. Then I used a red and yellow glaze pen to add a little bit of shine and depth to the cuts. I wanted to create a peaceful feeling, so I created a beach with the water, and a setting sun using my decorating chalks. I really love using chalks. I tend to forgot about them, then use them a lot on a few projects before they get "lost" in my craft room again. To create the "printed on" look of the sentiment. I stamped "Thinking of You" on the card, using Versa Mark ink, before I used the chalk, then I ran a couple of light layers over the stamped image with the brown chalk. I love this technique as it always produces a clean and crisp image of your stamp. I finished the card off by putting everything together, using foam tape on the bucket and one of the plies of sand. I love the way the card turned out.
Materials Used: Cricut: Create a Critter and Simply Charmed Paper: Recollections cardstock Stamp: Stampabilities - Card Phrases Ink: Versa Mark Chalk: Decorating Chalks by Craf-t Products Pen: Red and Yellow Glaze Pen
|
 
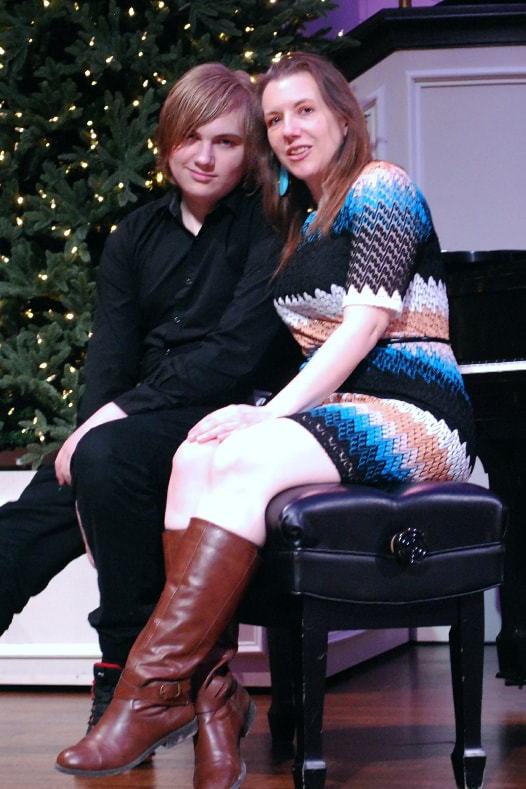
JoNeita & Dallas - Dec. 2021
About MeMy name is JoNeita Kelly and I have been crafting for at least the last 20 years. I live in Forney, Texas with my son, Dallas. I am a High School teacher and Cheerleading Coach. I love to craft and to continue to improve my photography and editing skills whenever I have free time. What I love most is telling our story using pictures, it is the most important gift I can leave my family. 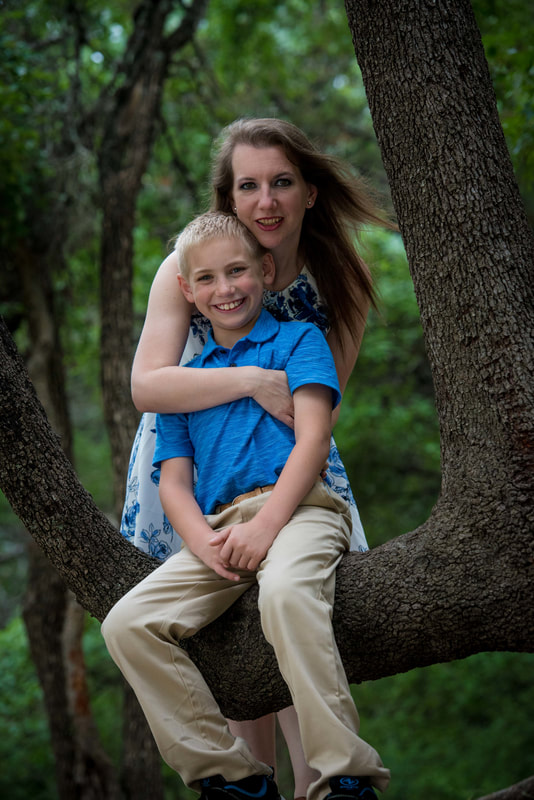
Photo by Steven Mackie Photography.
Categories
All
Archives
December 2021


Former Design Team Member for Fantabulous Cricut Challenge Blog
 |


 RSS Feed
